
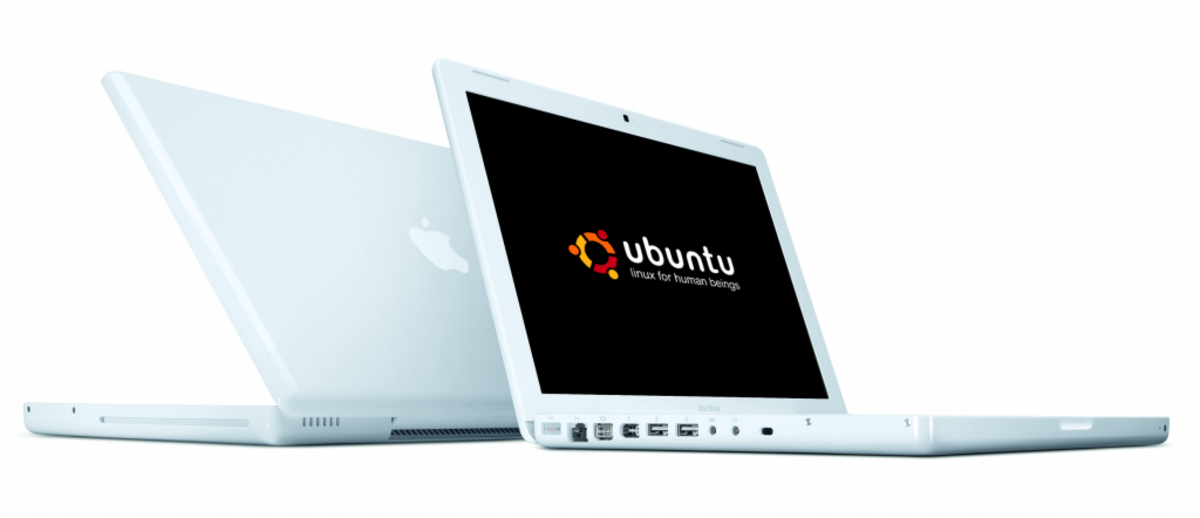
Ubuntu Jaunty on MacBook 4.1
So tonight I finally got Jaunty on my MacBook - from my experience there is a bug in the current Jaunty CD’s (both alternate and live CD) by which GRUB boot loader doesn’t install properly, the weird thing was I didn’t have this problem when I first tried Jaunty. Anyway if you want jaunty go and download Ubuntu Intrepid Ibex 8.10 from here - http://releases.ubuntu.com/intrepid/. Install that on your macbook the normal way (For a full guide go here - http://ubuntuforums.org/showthread.php?t=1192296)
After you installed it, install rEFIt in Mac OS X, this is quick and easy, just download and run the mpkg file from this site - http://refit.sourceforge.net/. Once installed shut down the machine fully and turn on the computer again, once you have the choices DON’T click on the linux icon, instead go to the “partition table” option this will go to a terminal type thing and it will ask you if it can change the MBR to the above, type “Y” and press enter. This will then go back to rEFIt and you may now click into linux and fingers crossed you’ll be good to go.
To then get jaunty I went into System > Administration > Synaptic Package Manager click reload to update all the packages. I then closed the window (Didn’t update or install anything), then waited for the update icon to appear in the top right system tray. Clicked on it, which had the option to upgrade to the Jaunty Distribution. click OK and it’ll go away and update itself. Now follow the parts below that your interested in and your finished.
So to start off with lets get the wireless working. The wireless has a bit of a bug by which it says it’s enabled to start off with but it doesn’t work, so to resurrect do the following:
Go to System > Administration > Hardware Drivers
Now it will say that the driver is enabled, deactivate it and restart your computer. Now go back to Hardware Drivers (System > Administration > Hardware Drivers) and activate the driver again. Now restart and your wireless should be working in full force.
NOTE: The last time I tried Jaunty, it had no problems with using the horrible WPA Enterprise Wireless Encryption which I have had trouble with ever since my university introduced it (Fiesty or Gutsy).
Dual Screens next (Unplug any monitor you have at the moment):
These work pretty much out of the box, just go to System > Preferences > Display and ensure your laptop screen is detected and at the resolution 1280 x 1024 (If not then set it and select Apply). After that plug in your monitor and click Detect Monitors your new screen should be detected. Set the resolution for it and there will be a window come up saying it wants to extend your virtual desktop - Although you need to log out and log back in for it all to take affect, Happy Days!!
Now if your like me you may see that your desktop wall paper goes into tiled mode, and if you drag a window to the other monitor (i.e. Not your laptop screen) you’ll probably get some odd behaviour (Blurring window, cant get all the way to the far side of the screen). Now this is caused by Compiz Fusion - yes thats right you can’t have cool little effects (Im a fan of the paper plane effect). To turn off Compiz Fusion, go to System > Preferences > Appearance then click on the Visual Effects tab and select none. This fixed it for me, if you still have troubles try going back to Display and turning off and back on again the monitor.
So I tried out the sound and it . . Drum Rool . . WORKS!!! oo yeah, this includes muting and un-muting (I had problems with that in the past), also plugging in head phones now turns off the speakers and when unplugged it turns the speakers back on. So I havent had any chain of commands that have broken it or caused unexpected behaviour.
Double finger tap for right click needs a little work (Not too hard compared to prev installs of Ubuntu though)
(Instructions from https://help.ubuntu.com/community/MacBook4-1/Jaunty)
In a terminal (Applications > Accessories > Terminal) type the following:
sudo gedit /etc/hal/fdi/policy/appletouch.fdi
Then in the window which opens up copy and paste the following:
<?xml version="1.0" encoding="ISO-8859-1"?>
<deviceinfo version="0.2">
  <device>
    <match key="input.x11_driver" string="synaptics">
      <merge key="input.x11_options.VertTwoFingerScroll" type="string">1</merge>
      <merge key="input.x11_options.HorizTwoFingerScroll" type="string">1</merge>
      <merge key="input.x11_options.TapButton1" type="string">1</merge>
      <merge key="input.x11_options.TapButton2" type="string">3</merge>
      <merge key="input.x11_options.TapButton3" type="string">2</merge>
      <merge key="input.x11_options.FingerLow" type="string">10</merge>
      <merge key="input.x11_options.FingerHigh" type="string">20</merge>
      <merge key="input.x11_options.PressureMotionMinZ" type="string">10</merge>
      <merge key="input.x11_options.ClickFinger1" type="string">1</merge>
      <merge key="input.x11_options.ClickFinger2" type="string">3</merge>
      <merge key="input.x11_options.ClickFinger3" type="string">2</merge>
    </match>
  </device>
</deviceinfo>
Restart and your double tap is done :-)
Next install pommed to get your CD drive to eject when the eject button is pressed
So back to the terminal and type:
sudo apt-get install pommed
Microphone instructions (from https://help.ubuntu.com/community/MacBook4-1/Jaunty)
Microphone
- Open Volume Control by right clicking on the volume icon and selecting “Open Volume Control”.
- Click on Preferences and enable Capture, enable Mic Boost, and then close Preferences.
- In the Recording tab of Volume Control, raise the Capture level.
- In the Playback tab of Volume Control, raise the Mic Boost level.
- Under System > Preferences > Sound choose “HDA Intel ALC885 Analog (ALSA)” for Audio Conferencing / Sound capture
- Test it by running gnome-sound-recorder. Ensure that “Capture” is selected in the “Record from input” dropdown.
Webcam
Now it is possible to get the webcam working - however I had some problems with the webcam being green and at the moment I dont have too much of a need for it because I just have a cheap USB camera I can use instead, but for some info check out https://help.ubuntu.com/community/MactelSupportTeam/AppleiSight for some help.
Thats all for now folks, catch ya laters
Orig. Photo: https://flic.kr/p/68uPqJ
Found an issue?
All my posts are available to edit on GitHub, any fix is greatly appreciated!